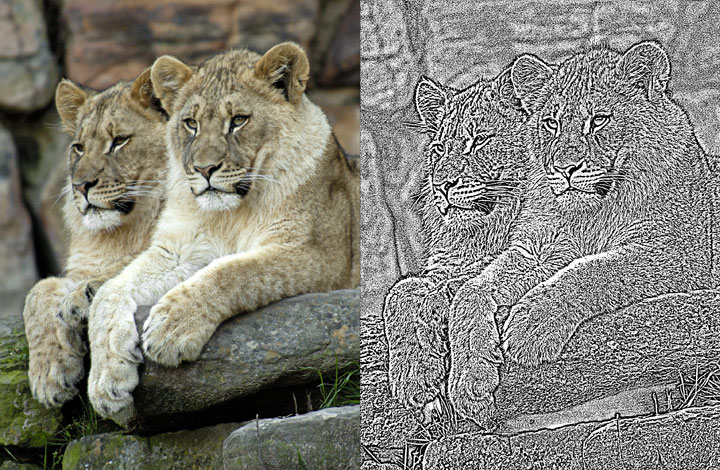
| Curious about creating a line drawing effect from photos and searching the web for related information, I've found that I tend to favor using the Photocopy or Hi-Pass filters in Photoshop as my starting point. The photos below illustrate some typical results, but I've avoided going into too much detail simply because I've found that the settings used and even the methods used can vary widely from one image to another. I think it is useful just to have a few ideas of how to approach the task and play with them to see what results you can obtain with your own images.. | ||
 |
||
| ORIGINAL IMAGE | Method 1:
|
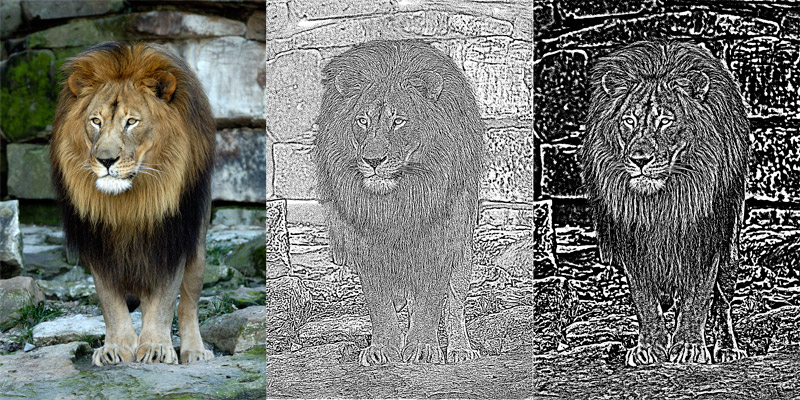
Method
2:
|
|
|
||
Method 2 was used for the above image with a change to grayscale mode added after the hi-pass filter. I like the end results better than those of the first image using the same technique and think this looks more akin to Method 1. Why the difference? I'm not sure unless it is just how the color tones and textures are distributed differently in the two images. But, this does illustrate that there is more than one filter that lends well to creating the faux line drawing effect. I've heard of using both the Stamp and Smart Blur filters, but have never had as much success with those myself. |
||